If you’ve ever walked into an occupational therapy clinic, you’ve seen it. The magical room.
It’s got the lycra swing that looks like a cocoon. It’s got the giant pit filled with foam blocks. It’s got fiber optic lights that change color slowly. It is a sensory paradise, and my son’s whole body immediately unclenches when he walks in.
Then I looked up the price of a professional-grade therapy swing. I laughed. Then I cried a little.
When you are raising a neurodivergent kid, you quickly learn that anything labeled “therapeutic” or “sensory” comes with a massive markup. But here is the secret that the catalogs don’t want you to know: Your kid’s nervous system doesn’t care about the brand name. It cares about the input.
You don’t need a $5,000 budget and a spare room to create a regulation station. You need a corner, some creativity, and a quick trip to a hardware or big-box store.
Here is how we built a “Crash Pad” in our living room that saves our sanity on a daily basis, without breaking the bank.
The “Why”: What Is a Sensory Corner For?
Before you start buying bean bags, you need to understand the goal. A sensory space is not just a playroom. It is a tool for regulation.
It’s a designated “safe zone” where the demands of the world are turned down. It’s where they go when the lights are too bright, the sounds are too loud, or their own body feels like it’s vibrating out of control.
It needs to offer one of two things (or both):
- A decrease in input (The Calm Cave): Dark, quiet, enclosed. For when they are overstimulated.
- An increase in specific input (The Crash Zone): Deep pressure, heavy work, vestibular movement. For when they are under-stimulated and seeking sensation.
Our corner is a hybrid of both.
Step 1: Define the Space (The “Container”)
A sensory space needs clear boundaries. It shouldn’t bleed into the rest of the room. This physical boundary helps create a mental boundary of safety.
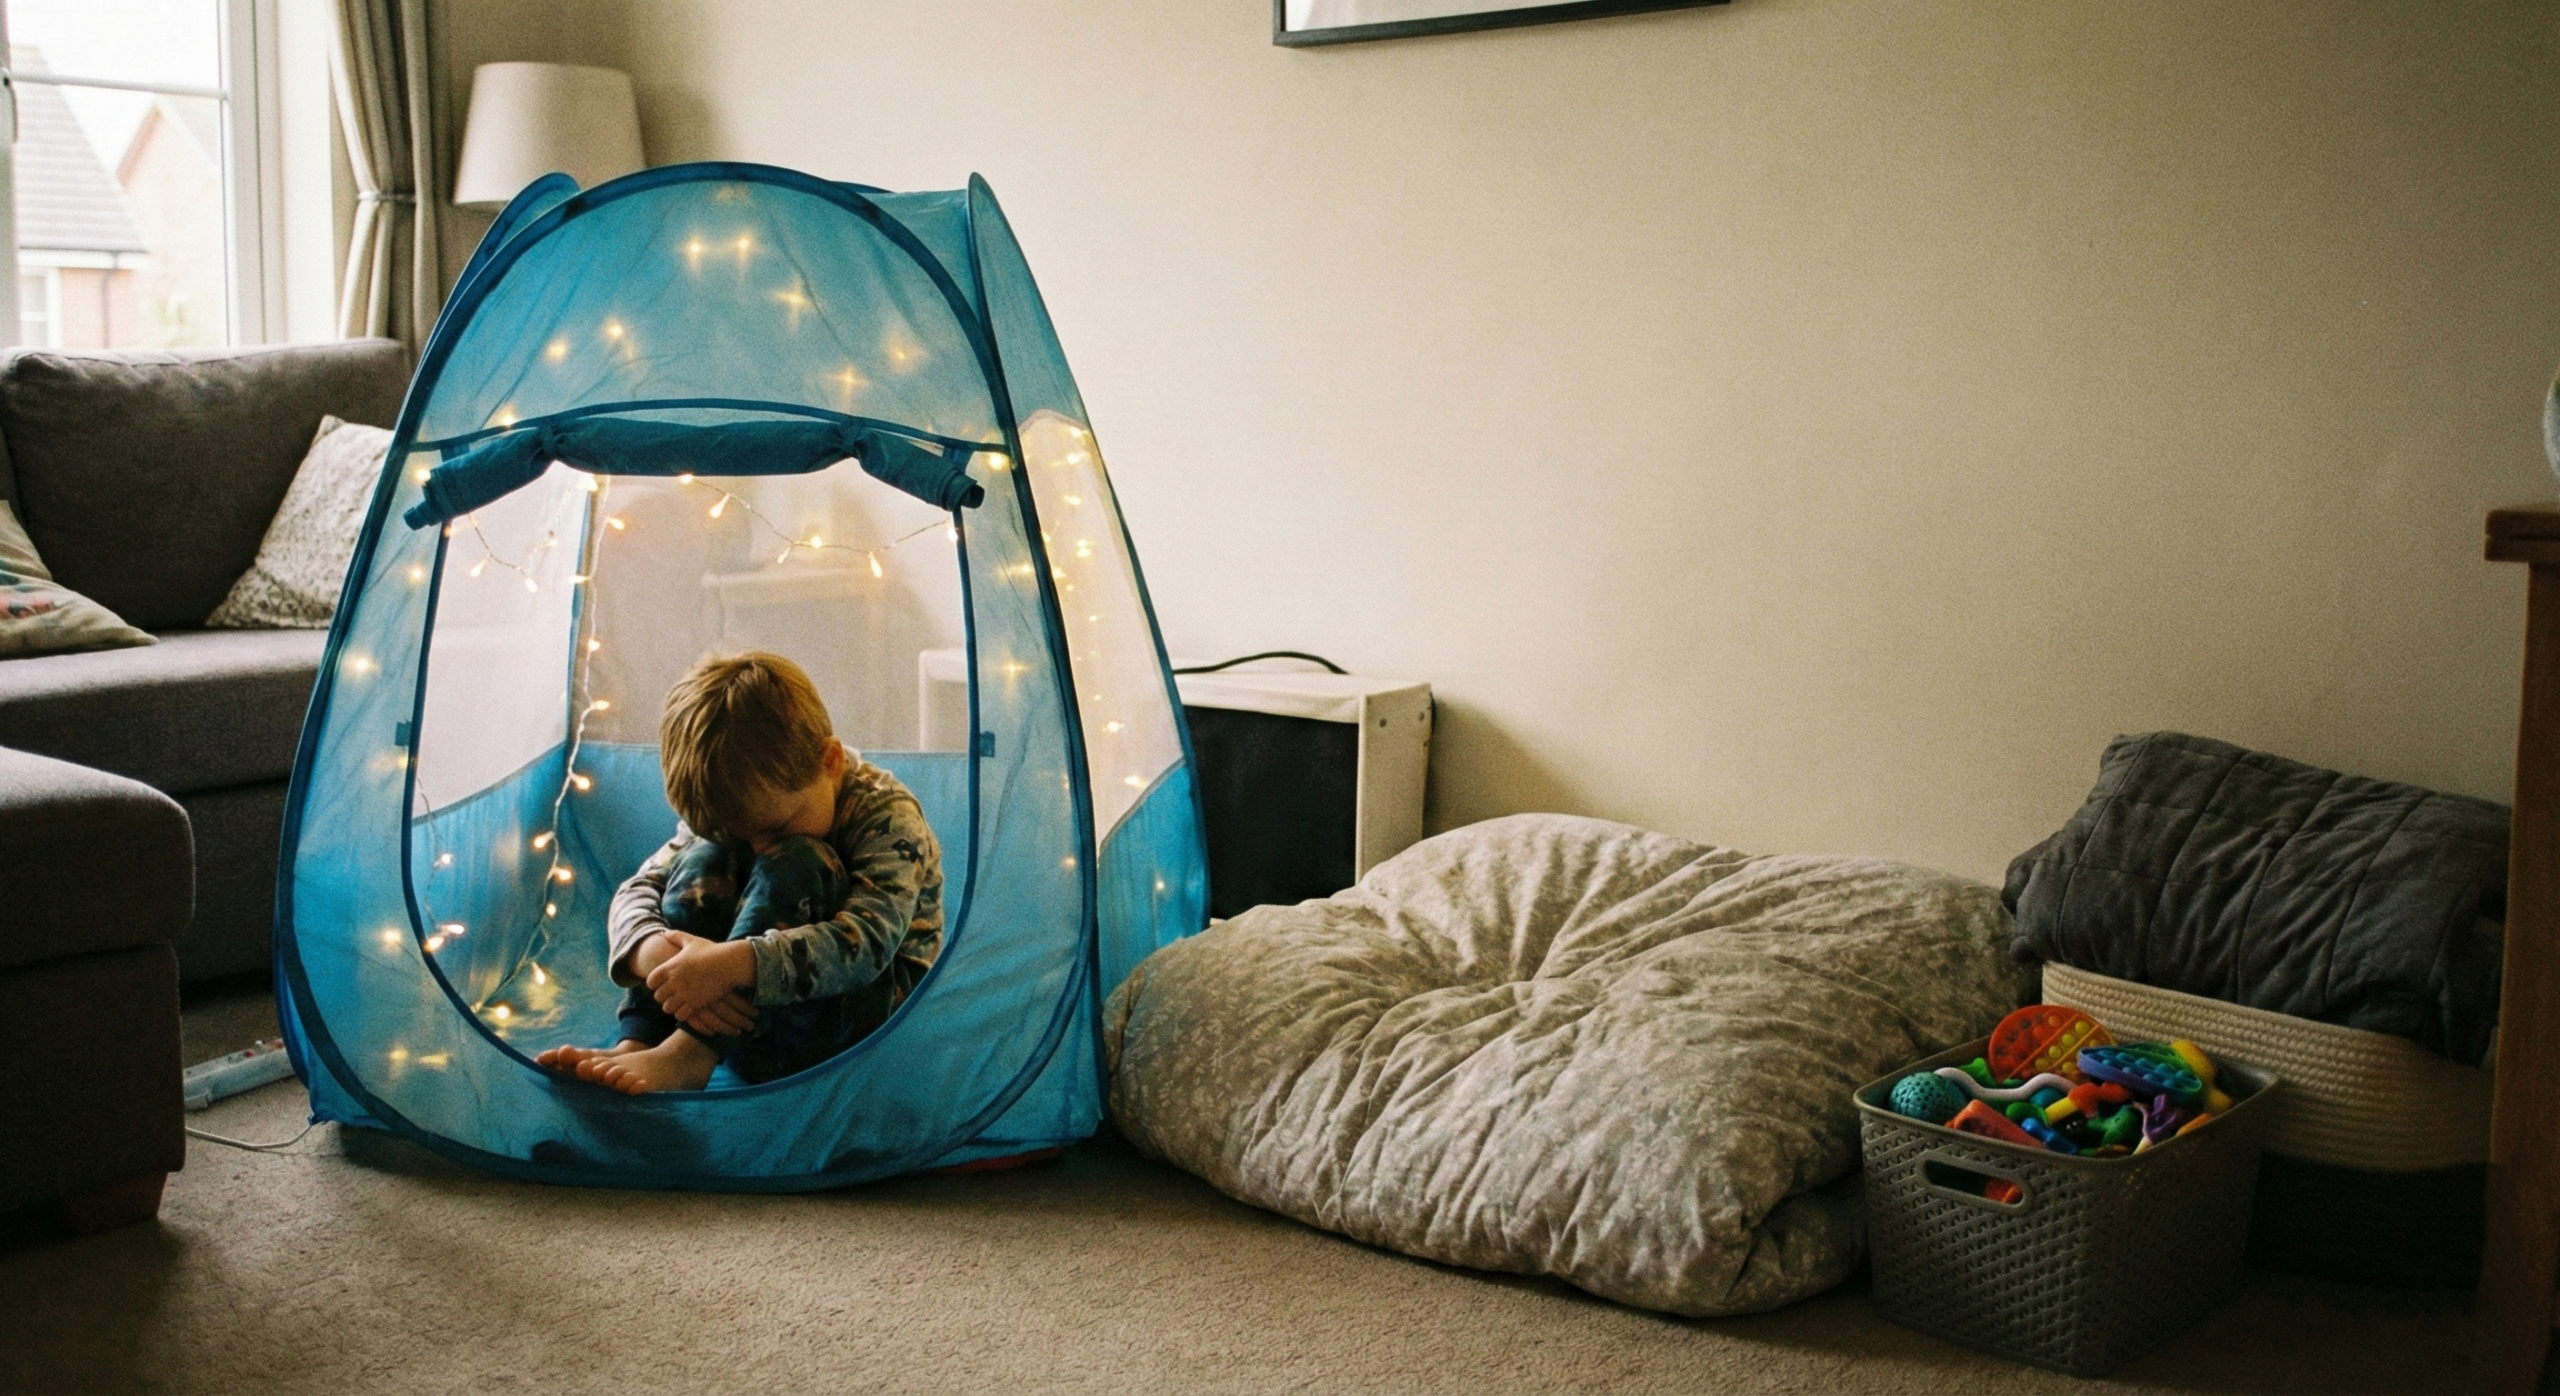
- The Budget-Friendly Option: A small pop-up play tent is a fantastic, cheap solution. It immediately creates an enclosed, womb-like space that dampens light and sound. You can find them for under $30.
- The DIY Option: Drape a heavy blanket over a small table or between two chairs. The darker and heavier the blanket, the better.
- The “Dad Upgrade”: We cleaned out the bottom half of a closet. It’s small, dark, and already has walls. It’s the ultimate calm cave.
Step 2: The “Crash” Element (Proprioceptive Input)
This is the star of the show. Proprioception is the sense of where your body is in space. Deep pressure to the joints and muscles is universally calming for a chaotic nervous system. It’s why a tight hug feels so good when you’re upset.
We needed something he could safely throw his body into without breaking himself or my furniture.
- The Expensive Way: A $300 specialized foam crash pad.
- The Neuro Dad Hack: We bought an extra-large, heavy-duty duvet cover from Amazon. Then, we bought a giant bag of scrap foam shredded into pieces. We stuffed the duvet cover until it was a giant, lumpy, glorious pillow. Total cost: about $50.
He can jump on it, bury himself under it, or just lay on it while I apply deep pressure squishes. It is the anchor of our sensory corner.
Alternative: A large, high-quality bean bag chair also works wonders, as it conforms to the body and provides steady pressure.
Step 3: The Lighting (Turning Down the Volume)
Overhead lighting is the enemy. Fluorescent lights flicker, and bright LEDs can be painful.
Your sensory space needs low, controllable lighting.
- The Best Option: A simple strand of warm-white holiday lights. Drape them inside the tent or along the wall. The soft glow is instantly soothing.
- The Upgrade: A small galaxy projector that casts slow-moving stars and nebulae on the ceiling. It’s visually engaging without being overwhelming, and it’s great for a child who needs something to focus their eyes on while they regulate. Avoid anything with rapid flashing or strobing effects.
Step 4: The Toolkit (Fidgets and Focus)
Inside the space, have a small basket of tools they can use independently. This isn’t for toys with batteries and loud noises. It’s for tactile input.
- Weighted Items: A small weighted lap pad or a heavy stuffed animal. The weight is grounding.
- Tactile Fidgets: Things to squish, stretch, and pull. Think therapy putty, spiky balls, or those silicone “pop-it” toys.
- Visual Timers: A small visual timer can be helpful if they are using the space for a “reset.” Knowing that they have 10 minutes of guaranteed peace can help them relax into it.
The “Dad Rules” for the Sensory Corner
Building it is half the battle. How you use it is the other half.
- It Is Never a Punishment: This is crucial. You never send them to the sensory corner for a “time-out.” It is a tool, not a prison. If it gets associated with shame, it loses its power to calm.
- It’s Invitation-Only: You can suggest it—”Hey buddy, your engine seems to be running really fast. Do you want to go to the crash pad?”—but you can’t force it.
- The “No-Demand” Zone: When they are in there, you do not ask them questions. You do not talk about homework. You do not ask them to clean up. It is a neutral zone where the only goal is to exist and regulate.
The Bottom Line
You don’t need a degree in occupational therapy to help your kid. You just need to observe them.
Watch what they seek out when they are stressed. Do they hide under blankets? Do they crash into the sofa? Do they cover their ears? That is their body telling you exactly what it needs.
Your job is just to provide a safe, accessible way for them to get that input. Start small. Throw some pillows in a corner, turn down the lights, and see what happens. It might just become the most important square footage in your house.